Spring-loaded particle systems
What's a good place to start? Oh, yes! Daniel Shiffman's Nature of Code! If you haven't done so already, please check it out. The book is a beautifully curated collection of physics simulations of naturally occurring phenomenons that we see daily in our physical world. He teaches how to implement each simulation step by step using Processing in an easy to grasp and very entertaining way. Daniel Shiffman is like the 10th-grade physics teacher I wish I had back in the day.
Two things that stirred my curiosity in particular while reading through the book: the chapter about particle systems and the section about spring forces in his chapter about oscillation. Going one step further by combining these two, it is possible to create quite interesting visual effects called "soft-body simulations".
I discovered a blog series by the generative artist Gorilla Sun about soft-body physics where he does also an amazing job explaining the underlying particle systems and how to implement them. I followed his breadcrumbs and recreated some of the examples from his soft-body physics blog post myself using Clojurescript and quil.
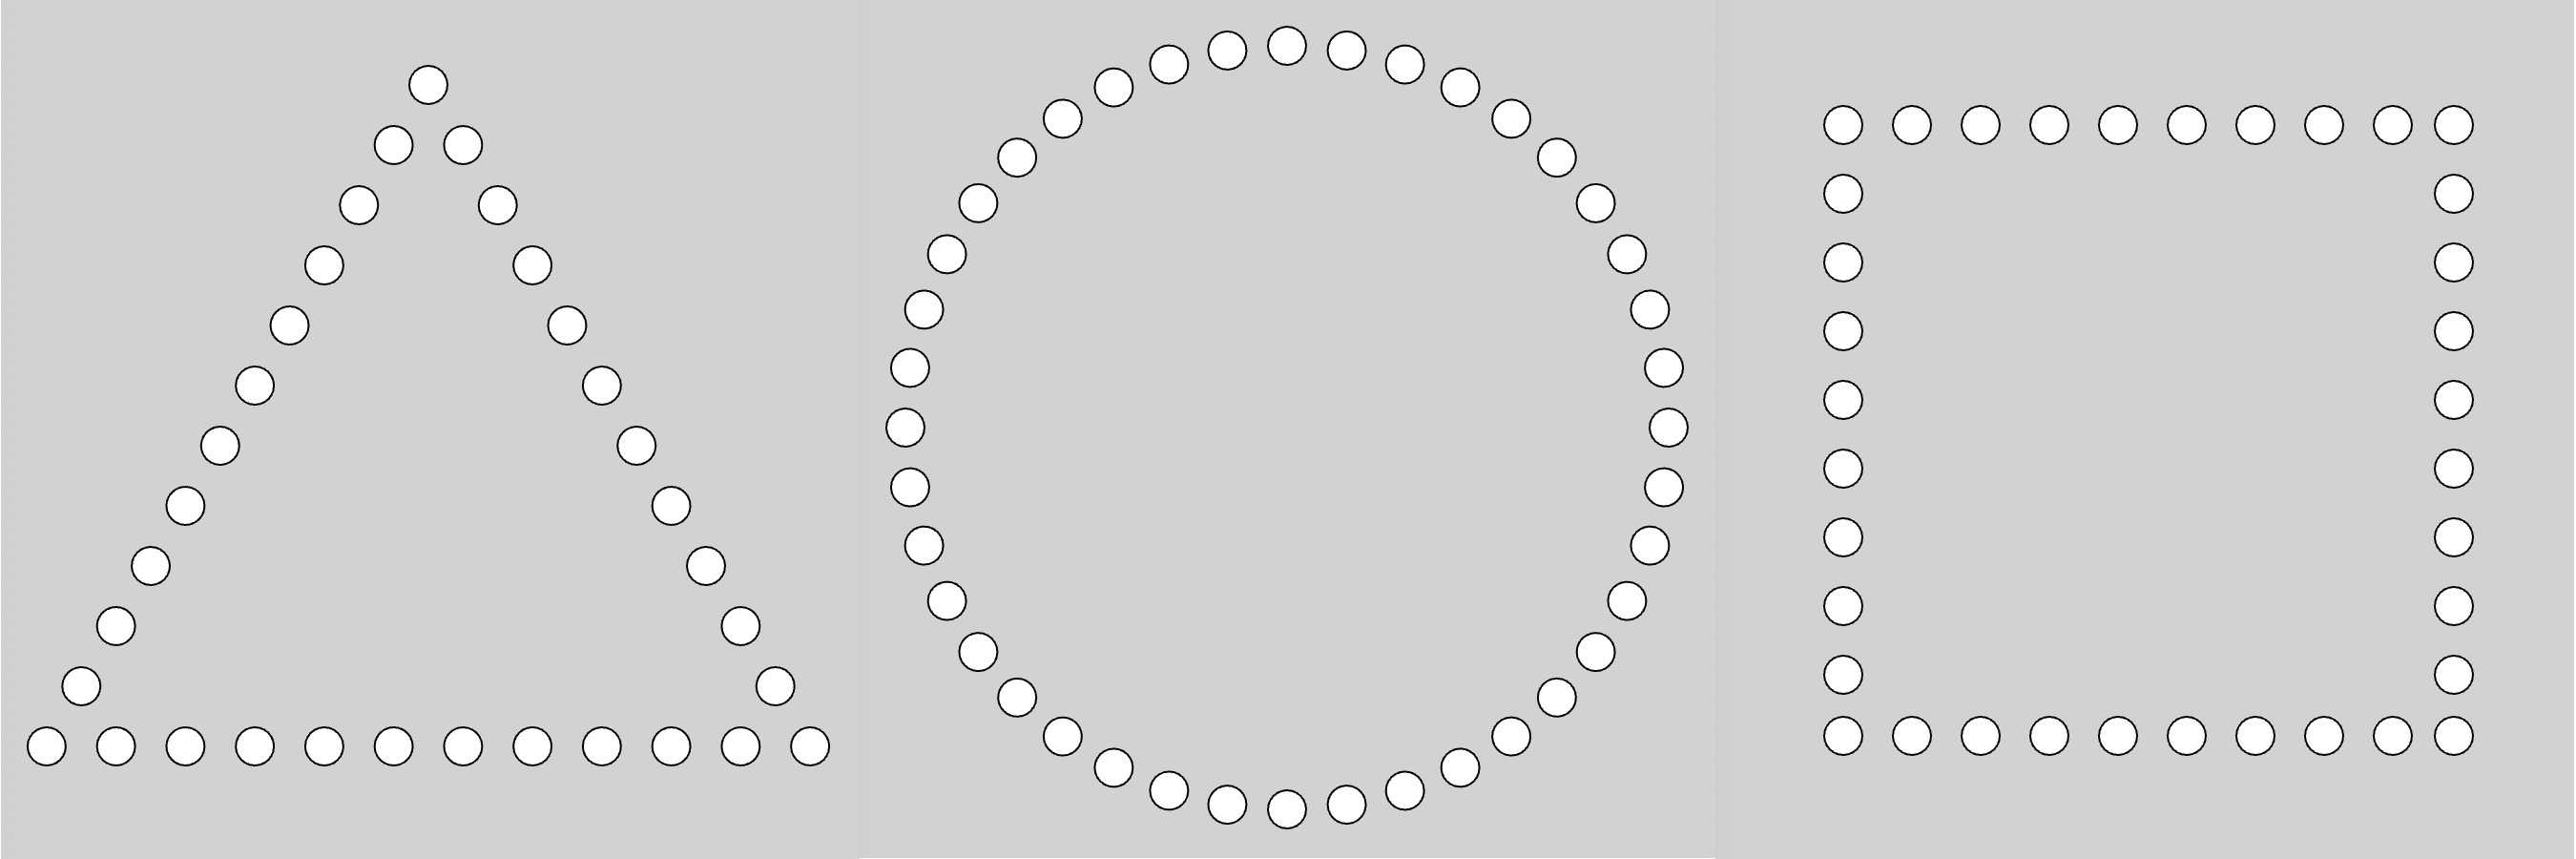
My approach here was entirely REPL driven. I first created procedures for generating particles that form basic geometric shapes: circle, square, triangle. This made it quite convenient to experiment with different shape combinations using the REPL.
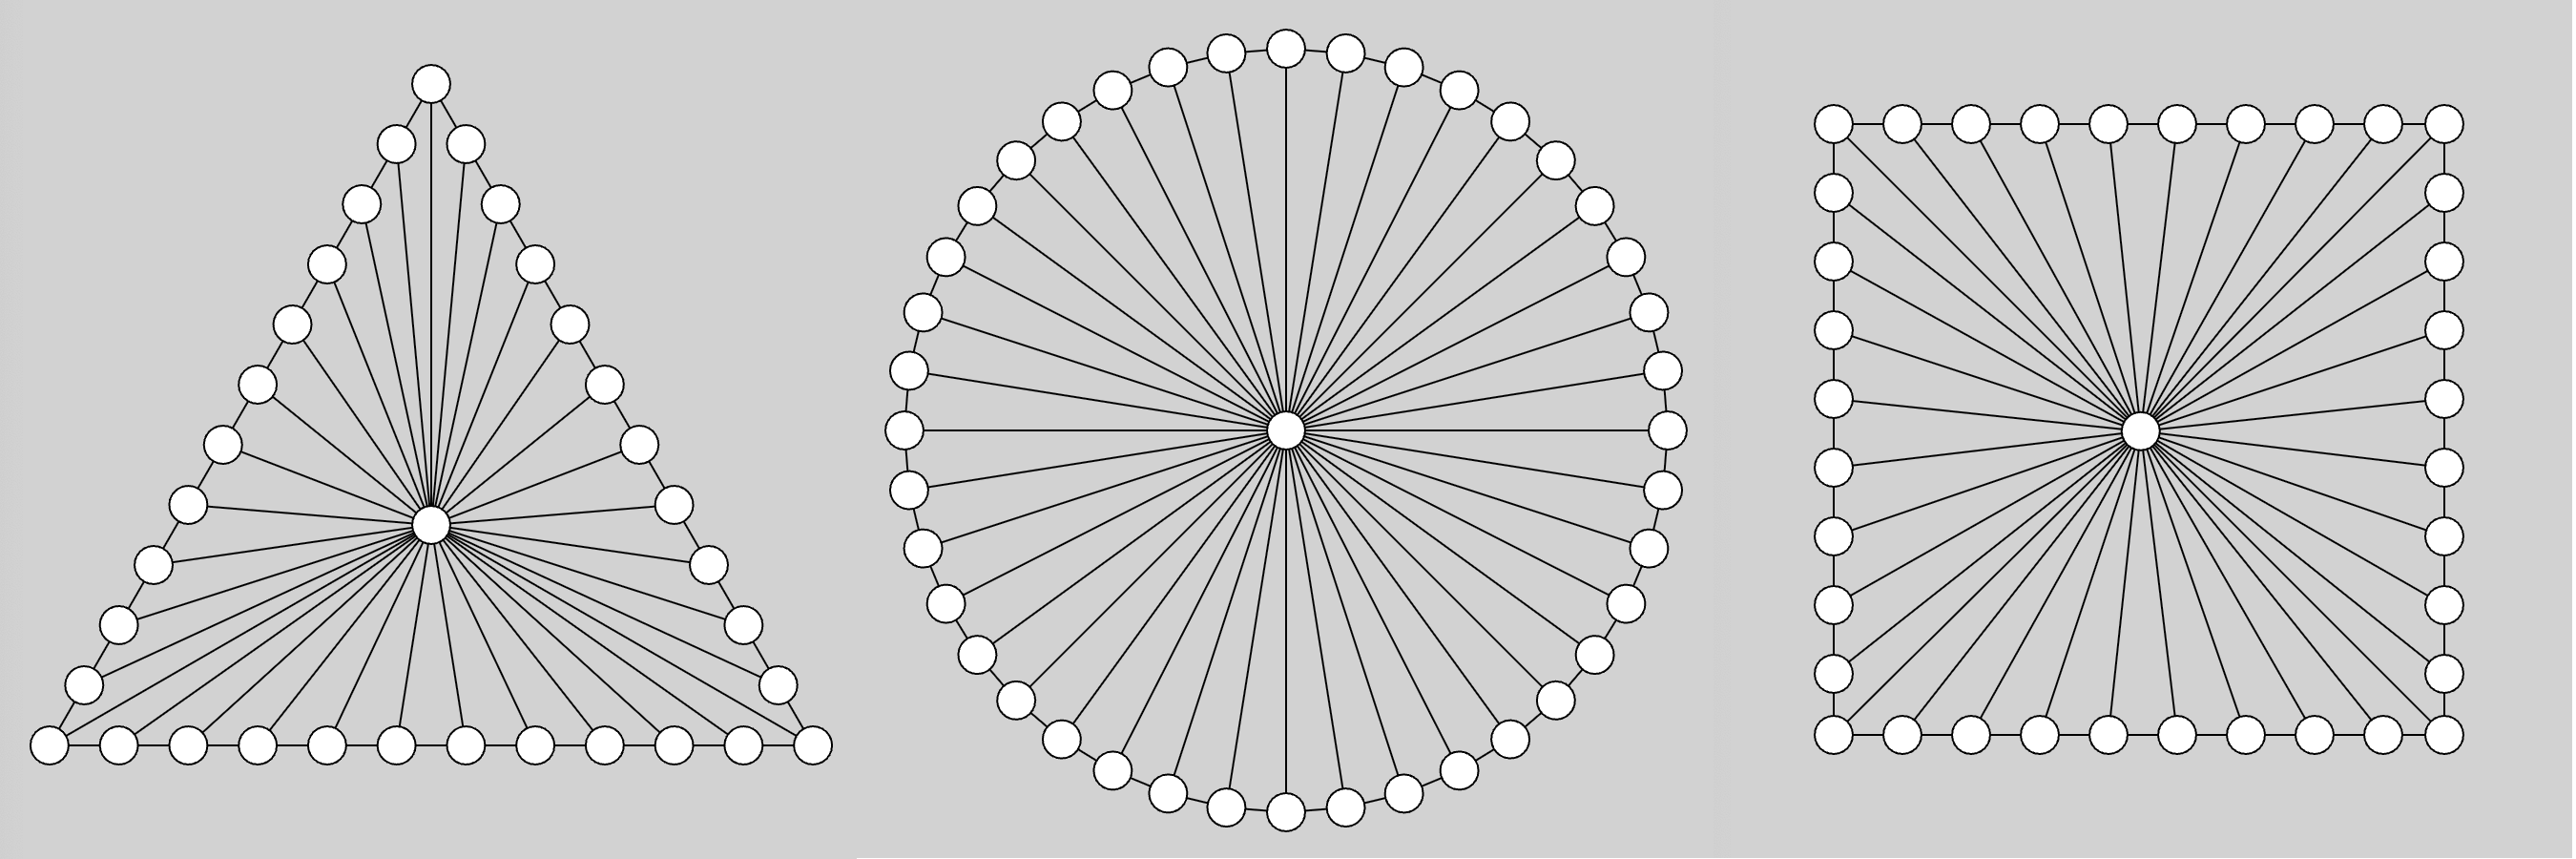
Next, I tackled the elastic springs: I started by implementing a procedure to connect two arbitrary particles with a spring connection and then continued by experimenting with wrapper procedures to create specific spring topologies:
- 1-to-n: connect a single particle with every other particle
- n-to-n: connect every particle with every other particle
- hull: connect the sorted particles in sequence so the polygon hull is spring-loaded.

This allowed me to create spring-loaded particle shapes conveniently via REPL, but without any forces acting on the particles, the effect is not visible. It only gets interesting when you see the system in motion, so I implemented "force fields" next: I modelled a force field with the following three properties: a center position, a magnitude, and a radius. The force field then exerts force on every particle within the radius by pulling the particle towards the center of the force field. Adding force fields to the system that periodically exert force on the particles allowed me to see how the spring-loaded particle topologies would behave when in motion. So far, so good, but I encountered a peculiar issue soon after finishing the implementation: Many of the geometrical shapes that I played around with had one thing in common: they collapsed rather easily into a wobbly Taco shape cloud of particles around the center point.
Intuitively, I wanted to explore different spring topologies and particle configurations to find out if some are more stable than others. This didn't work well; I hardly made any progress and felt like treading water. I realised: only using the REPL to interact with the canvas was not enough here. The reasons for that are:
- The force and topology changes that I performed via REPL were jumpy and imprecise. Adjusting forces and particle positions by discrete, smallish amounts didn't give me enough feedback to get a feeling for how the whole system behaves. I felt like I was stuck and couldn't explore the available geometrical space like I wanted.
- The feedback loop was too long. Changing the topology of the spring-loaded particle system only slightly via REPL, maybe by adding one or two support particles at certain positions, for example, required me to switch mentally into a "Cartesian coordinate-based" mode to generate new particles and spring connections ad-hoc via code. This doesn't take too long, but long enough to lose the immediate connection to the system.
As a result, I ended up feeling limited and not in control of my little spring simulation as much as I would have liked to.
My solution: to stay more in the geometrical mind space, while exploring the spring-loaded particle systems, it is better to interact with the canvas directly via the mouse. There are three main interactions I wanted to include:
- create (and delete) particles
- exert force on particles
- create spring connections between particles
I decided to use two different modes here to allow for both: particle mode and spring mode. I was reluctant first to introduce modes, since they also add significant complexity to the user interface. I thought briefly about using the different mouse buttons for particle vs. spring interactions instead, but decided against it, since utilizing right-clicks would already render it unusable on mobile devices.
As an additional minor feature, I also decided to make some of the spring properties configurable as well:
- stiffness: how much force is needed to compress and extend the spring
- damping: how fast will the spring absorb momentum and return to its equilibrium state.
For these two configurations I used slider inputs, since the scale and exact value of these configurations do not matter for the purpose of exploration and getting a feeling for the dynamics of the system as a whole.
Below you can see th result: a little gadget for exploring spring-loaded particle systems that you can play around with yourself.
This little gadget already did the trick for me. It enabled me to configure and explore different spring topologies much quicker, which allowed me to gain some intuition of how different connections would affect the stability and elasticity of the system. On the other hand, there are also a few things concerning this gadget that I'm not happy about:
- The feedback I get via the slider input for spring configuration is still pretty poor. The positive thing is that I can immediately see the effect when the spring-loaded system is in motion, but it would be better to apply these changes when interacting with the springs directly on the canvas, somehow, and not as part of a controller UI element outside of the canvas.
- Creating a spring in "spring mode" requires two clicks: first, a click to select the source particle and a second click to select the end particle of the spring. This becomes inconvenient when creating a large number of spring connections and slows down the exploration drastically, which rather adds to the feeling of being limited by tooling.
As a solution to the second point, I added a second, faster way to create spring connections: by dragging the mouse over the canvas in "spring mode", all particles that the mouse cursor visits while dragging are connected via springs. This brings the interaction close to how I would connect the dots using a pencil on paper, which makes it a lot more intuitive from my perspective.
Since I don't have much experience with UI design, I am very curious to hear about better, more intuitive solutions to implement these features. For any feedback or suggestions in this direction please feel free to reach out.
Thanks for reading! I hope you had fun playing around with my spring gadget, and in case you also feel the urge to create something yourself now, please do share :)